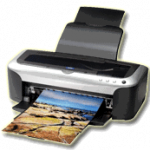
Unlike other later model printers like the R2400, the 2100 & 2200 Stylus Pro printers from Epson are not equipped with a little trapdoor for easy access to the waste ink tube. As a result you need to be a little more adept, have a suitable long piece of tubing and be armed with a pair of strong tweezers and/or needle nosed pliers to complete the modification.
Note:
The WIBOX kit available from OctoInkjet has been used in the instructions for this model.
Prepare your tubing
The first thing to do if you’re using an OctoInkjet kit is to remove the barbed fitting on the end of the tube so you can thread the tube through the printer vent grill. You may need to heat the tubing around the barb slightly by holding it over a steaming kettle spout*. This will allow you to pull the barb out easily.
*Safety Note: Obviously don’t hold the tube in the steam with your hand. Use a suitable impliment to protect yourself from the heat!
Thread the tubing into the printer
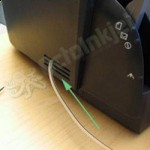
With your tubing, barb free, gently push the open end into the printer grill as shown in fig #1 (left).
You need to follow the angle shown by the green arrow to ensure it is relatively easy to locate inside the printer and complete the next step.
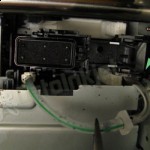
You should be able to locate the tube as it’s threaded into the printer indicated by the green arrow in fig #2 (right).
Once the extension tube is inside, re-attach the barbed fitting ready for the next stage.
Locate and Free Original Waste Tube
Obviously we want to connect the extension to the original waste tube but you need to free this up. It is VERY important that you free the correct end and not the end attached to the pump!
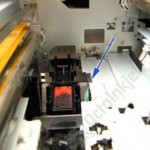
Fig #3 (left) indicates with a green arrow which end you need to gently (VERY gently!) pull free from under the metal shelf in front of the parking pads.
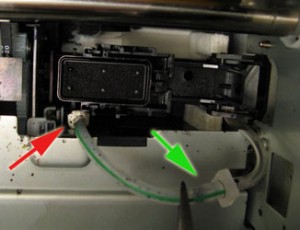
The location is further illustrated in Fig #4 (right).
DO NOT pull the tube off at the end indicated by the red arrow
Once you have the two tubes freed and ready you simply join them together using the barbed fitting.
Tidy up the tubing
With the join complete you then pull VERY gently on the tube extension from outside the printer to pull the joined tubes and barb fitting into position under the metal shelf (so it appears as fig #4 again) so it is out of the way of the parking pads and printhead.
Some careful work may be necessary with pliers or tweezers to maneuver the barb fitting under the shelf to complete this but it will all fit perfectly well.
Finished
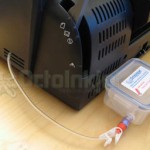
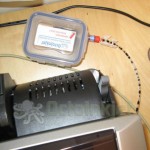
That’s more or less everything. Connect up your external tank and then test to complete the fitting.
Guide created with the help of Pavel Nemo
QuickFind your model
Current reset, kit and other information for your printer:



Leave a Reply
You must be logged in to post a comment.